What Is AWS ECS?
Amazon Web Services (AWS) Elastic Container Service (ECS) is a container orchestration service that allows you to run and scale containerized applications on AWS. It eliminates the need for you to manage and operate your own container orchestration software (such as Kubernetes), install and operate your own cluster management infrastructure, or schedule containers on your cluster.
ECS provides a simple API that allows you to launch and stop Docker-enabled applications, query the state of your applications, and access many familiar AWS features like security groups, Elastic Load Balancers, EBS volumes, and IAM roles.
ECS is designed around the concept of tasks—a task is a blueprint for your application that specifies the containers required for your application. A task definition contains parameters like the Docker image to use, the required CPU and memory, the Docker networking mode, and more. Once a task definition is created, you can run tasks and services using that definition on your ECS clusters.
What Is AWS Fargate?
AWS Fargate is a serverless compute engine for containers that works with both Amazon Elastic Container Service (ECS) and Amazon Elastic Kubernetes Service (EKS).
With Fargate, you no longer have to provision, configure, and scale clusters of virtual machines to run containers. Instead, you can specify the CPU and memory requirements for your application, and Fargate takes care of the rest. It automatically scales, manages, and maintains the servers, freeing you from the operational complexities of managing clusters.
Fargate integrates with other AWS services like Elastic Load Balancing, Amazon RDS, and Amazon S3, providing a complete ecosystem for running your containerized applications.
When you use the Amazon ECS Fargate launch type, your tasks create containers using the Fargate system. Fargate automatically provisions resources to meet the resource specifications defined in your ECS tasks.
This is part of a series of articles about container platforms.
In this article:
Benefits of Using ECS on Fargate
Here are some of the key benefits of running ECS containers on Fargate:
- Serverless operations: With Fargate, you simply package your application in containers, specify the CPU and memory requirements, and deploy. Fargate takes care of all the heavy lifting, providing a fully serverless experience.
- Automatic scaling: Fargate automatically adjusts capacity to maintain steady, predictable performance at the lowest possible cost. With auto-scaling, you can ensure that your application is highly available and can handle varying loads efficiently.
- Security: Fargate runs each workload on an isolated virtual environment, without sharing network interfaces, ephemeral storage, CPU, or memory with other tasks. This helps to prevent security vulnerabilities from spreading across tasks or pods. Fargate also integrates with AWS IAM, AWS WAF, AWS Firewall Manager, and other Amazon security services.
- Cost efficiency: With Fargate, you only pay for the resources you use. You don’t have to pay for EC2 instances that might not be fully utilized. In addition, with AWS Fargate Spot, you can use spare Amazon EC2 capacity and receive a discount of up to 90%, if you can afford to have workloads interrupted at short notice.
Quick Tutorial: Setting Up ECS on Fargate
This tutorial will guide you through setting up a simple containerized application on ECS using Fargate.
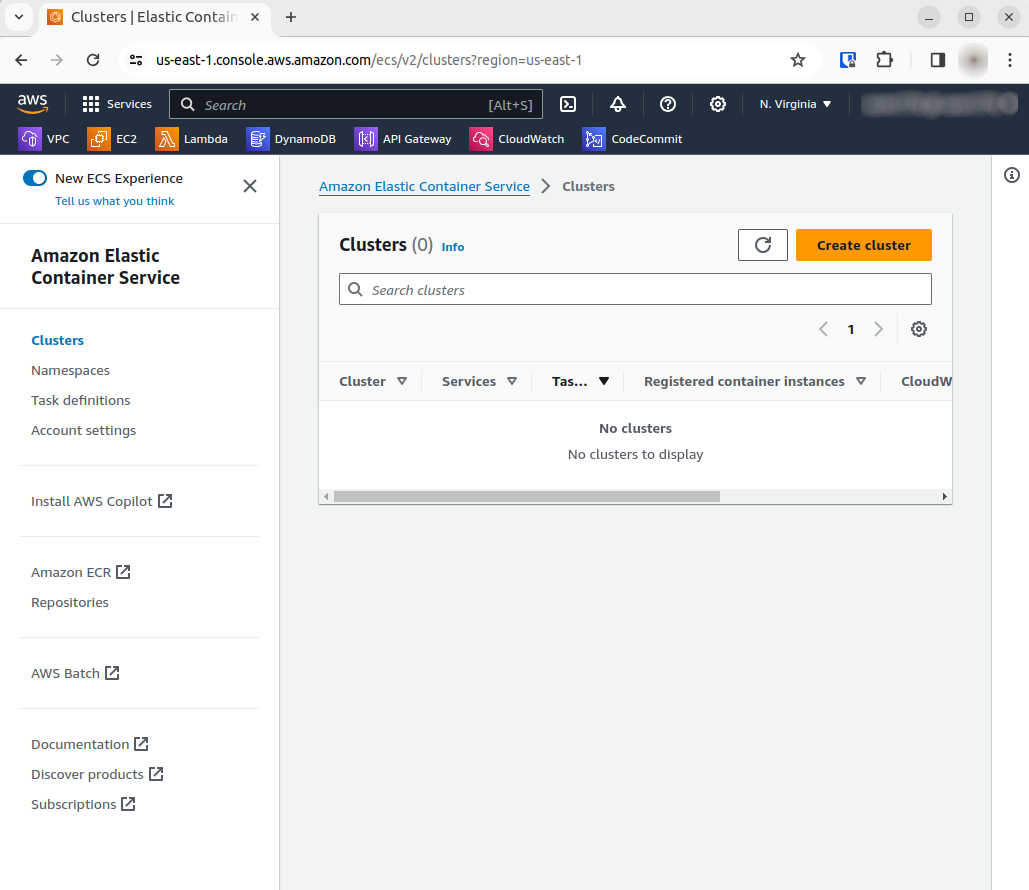
Step 1: Create the Cluster
First, you’ll need to create an ECS cluster. Open the AWS Management Console and navigate to the ECS section. Select your preferred region and then choose Clusters from the navigation pane. Click on Create cluster and proceed to define your cluster settings. Under Cluster configuration, enter a unique name for your cluster. You can optionally enable Container Insights for monitoring and configure tags for your cluster. After configuring these settings, create the cluster.
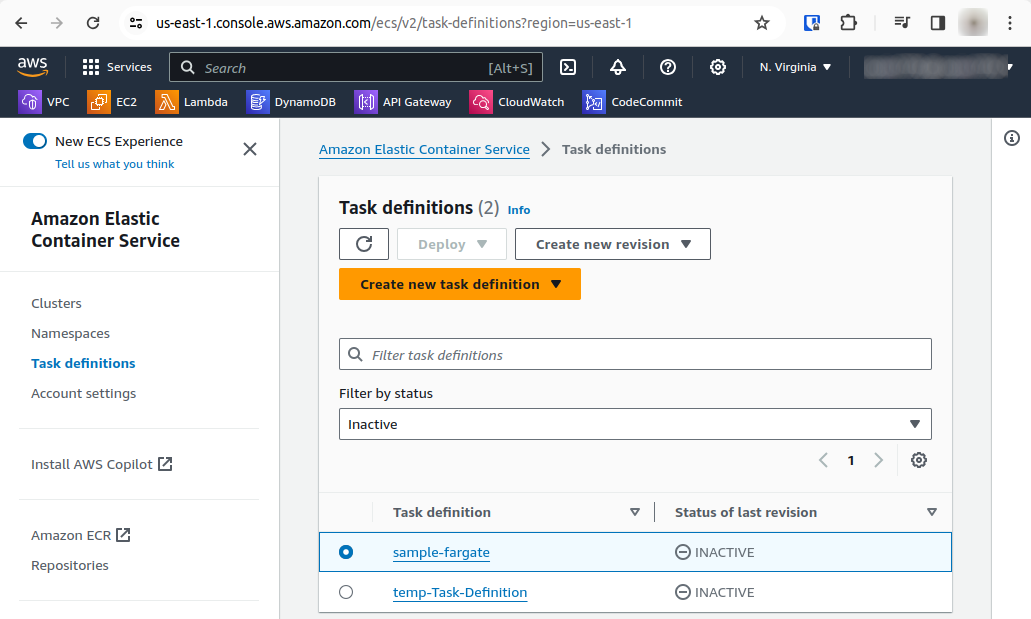
Step 2: Create a Task Definition
The task definition is crucial as it serves as the blueprint for your application. In the ECS console, go to Task Definitions and select Create new Task Definition, then Create new revision with JSON. You’ll need to provide details such as the container image, resource allocation, and the network mode. Here’s an example task definition you can use:
{

    "family": "sample-fargate",

    "networkMode": "awsvpc",

    "containerDefinitions": [

        {

            "name": "fargate-app",

            "image": "public.ecr.aws/docker/library/httpd:latest",

            "portMappings": [

                {

                    "containerPort": 80,

                    "hostPort": 80,

                    "protocol": "tcp"

                }

            ],

            "essential": true,

            "entryPoint": ["sh", "-c"],

            "command": ["/bin/sh -c \"echo '<html> <head> <title>Amazon ECS Sample App</title> <style>body {margin-top: 40px; background-color: #333;} </style> </head><body> <div style=color:white;text-align:center> <h1>Amazon ECS Sample App</h1> <h2>Congratulations!</h2> <p>Your application is now running on a container in Amazon ECS.</p> </div></body></html>' >  /usr/local/apache2/htdocs/index.html && httpd-foreground\""]

        }

    ],

    "requiresCompatibilities": ["FARGATE"],

    "cpu": "256",

    "memory": "512"

}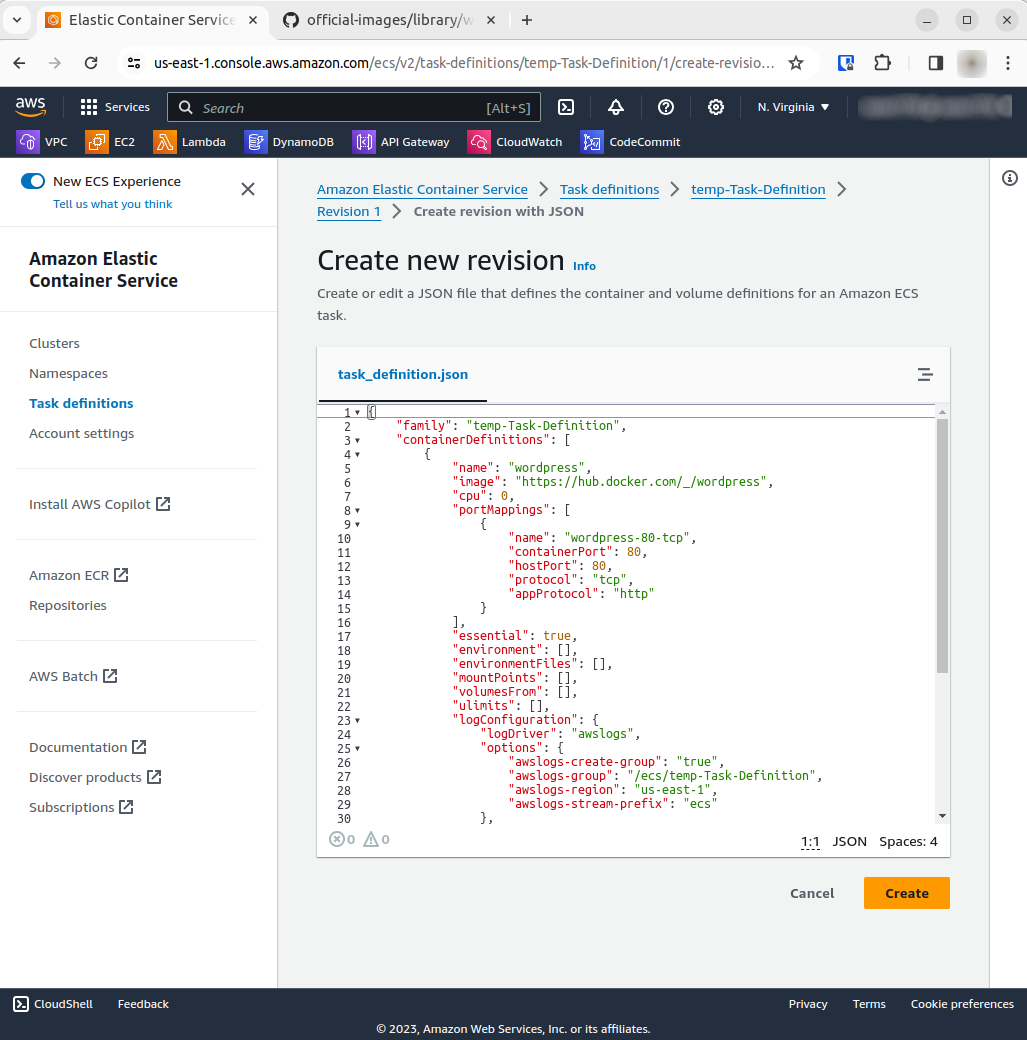
After entering the task definition, click Create.
Step 3: Create the Service
With your task definition ready, the next step is to create a service that uses this task definition. Go back to Clusters in the ECS console and select the cluster you created earlier. You can find link for creating new service as shown below:

You’ll need to specify deployment configurations like the task definition to use, the service name, and the number of desired tasks. Additionally, configure the networking settings, ensuring the security group you use aligns with your task definition’s requirements. After these configurations, create the service.
Step 4: View Your Service
To view your newly created service, return to the ECS console and select your cluster. Within the cluster’s Services tab, choose your service. You can view the tasks under this service by navigating to the Tasks tab. Here, you can select a task to view its details, including the public IP address, which allows you to access your deployed application.
Step 5: Clean Up
After you’re done using the ECS cluster, it’s important to clean up the resources to avoid incurring unnecessary charges. This cleanup includes deleting tasks, services, and the cluster itself.
In the ECS console, go to Clusters, select your cluster, and under the Services tab, delete the service you created. Confirm the deletion and wait until the service is fully deleted. Finally, delete the cluster, which will clean up the associated resources like Auto Scaling groups, VPCs, or load balancers.
Related content: Read our guide to container as a service
Best Practices for Running ECS on Fargate
1. Rightsize Tasks
Rightsizing your tasks means that you should accurately define the CPU and memory requirements for your tasks to ensure they perform optimally.
To rightsize your tasks, you need to have a clear understanding of the workloads that your applications will be handling. This can be achieved through thorough testing and monitoring of your applications to determine how much CPU and memory they consume during peak and off-peak periods. By rightsizing your tasks, you are not only ensuring optimal performance but also cost-effectiveness as you will only be paying for the resources that you actually use.
2. Scaling and Load Balancing
Scaling and load balancing work hand in hand to ensure that your applications can handle varying amounts of traffic without any degradation in performance.
In terms of scaling, ECS provides two options: manual scaling and automatic scaling. Manual scaling involves manually adjusting the desired task count based on your observations or predictions of the traffic patterns. Automatic scaling involves setting up scaling policies that automatically adjust the task count based on real-time metrics such as CPU and memory utilization.
Load balancing ensures that the incoming traffic is evenly distributed across all the tasks in your service. ECS supports both application load balancers and network load balancers, each with their own advantages. Application load balancers are best suited for HTTP/HTTPS traffic, while network load balancers are ideal for TCP traffic where extreme performance is required.
Before going live, it is important to execute scale tests using external sources to gauge effectiveness of your scaling and load balancing policies.
3. Service Health Checks
Service health checks are critical in ensuring that your applications are running as expected and are available to your users.
ECS provides built-in health checks that monitor the status of your tasks and services. If a task fails the health check, ECS can automatically stop the task and replace it with a new one. This ensures that your service is always running, even in the face of individual task failures.
However, it’s not enough to just rely on the built-in health checks. You should also implement application-level health checks to monitor the health of your application from within the tasks. These checks can monitor things like database connectivity, disk space usage, and application-specific metrics.
4. Monitor Key Metrics
By keeping a close eye on key metrics, you can gain valuable insights into the performance of your applications and make informed decisions to improve them.
ECS provides a wealth of metrics that you can monitor, including CPU usage, memory usage, network traffic, and more. These metrics can be viewed in the ECS console, or you can use Amazon CloudWatch to create custom dashboards and set up alarms to notify you when certain thresholds are breached.
In addition to the built-in metrics, you should also consider implementing custom metrics that are specific to your applications. These could include things like the number of transactions processed, the response time of your APIs, and other business-specific metrics.
5. Image Scanning
Container images can contain vulnerabilities and malicious software. ECS supports image security scanning through the use of Amazon ECR (Elastic Container Registry). When you push an image to ECR, it can automatically scan the image for known vulnerabilities and provide you with a detailed report of its findings.
By enabling image scanning, you can proactively identify and fix vulnerabilities in your applications before they are deployed. This not only enhances the security of your applications but also helps you maintain compliance with various security standards and regulations. Always use stable docker images from the official sources.
Holistic Container Security with Aqua
Aqua provides a Cloud Native Application Protection Platform (CNAPP) that secures cloud native, serverless, and container technologies. Aqua offers end-to-end security for containerized applications, and protects you throughout the full lifecycle of your DevOps pipeline: from code and build, across infrastructure, and through to runtime controls, container-level firewalls, audit, and compliance.
Continuous Image Assurance
Aqua scans container images for malware, vulnerabilities, embedded secrets, configuration issues and OSS licensing. You can develop policies that outline, for example, which images can run on your container hosts. Aqua’s vulnerability database, founded on a continuously updated data stream, is aggregated from several sources and consolidated to make sure only the latest data is used, promoting accuracy and limiting false positives and negligible CVEs.
Aqua offers Trivy, an all-in one open source security scanner, which now provides multiple capabilities:
- Scanning IaC templates for security vulnerabilities
- Kubernetes operator that can automatically trigger scans in response to changes to cluster state
- Automated generation of software bills of materials (SBOMs)
- Detection of sensitive data like hard-coded secrets in code and containers
- Docker Desktop integration making it possible to scan container images directly from Docker Dashboard
Aqua DTA
Solutions like Aqua’s Dynamic Threat Analysis allow protection against advanced and evasive security threats, including supply chain attacks. The industry’s first container sandbox solution, Aqua DTA dynamically assesses the risks of container images by running them in an isolated sandbox to monitor runtime behavior before they hit the production environment.
Runtime Security for Containers
Aqua protects containerized applications at runtime, ensuring container immutability and prohibiting changes to running containers, isolating the container from the host via custom machine-learned SECCOMP profiles. It also ensures least privileges for files, executables and OS resources using a machine-learned behavioral profile, and manages network connections with a container firewall.
Drift prevention
To enforce immutability of container workloads, Aqua enables drift prevention at runtime. This capability deterministically prohibits any changes to the image after it is instantiated into a container. By identifying and blocking anomalous behavior in running containers, Aqua helps ensure that your workloads are protected from runtime attacks, zero-day exploits, and internal threats.
Aqua further enhances securing containers as follows:
- Event logging and reporting—granular audit trails of access activity, scan container commands, events, and coverage, container activity, system events, and secrets activity.
- CIS certified benchmark checks—assess node configuration against container runtime and K8s CIS benchmarks with scheduled reporting and testing or Aqua OSS tools.
- Global compliance templates—pre-defined compliance policies meet security standards such as HIPPA, CIS, PCI, and NIST.
- Full user accountability—uses granular user accountability and monitored super-user permissions.
- “Thin OS” host compliance—monitor and scan host for malware, vulnerabilities, login activity, and to identify scan images kept on hosts.
- Compliance enforcement controls—only images and workloads that pass compliance checks can run in your environment.
Container Firewall
Aqua’s container firewall lets you visualize network connections, develop rules based on application services, and map legitimate connections automatically. Only whitelisted connections will be allowed, both within a container cluster, and also between clusters.
Secrets Management
Store your credentials as secrets, don’t leave them in your source code. Aqua securely transfers secrets to containers at runtime, encrypted at rest and in transit, and places them in memory with no persistence on disk, so they are only visible to the relevant container. Integrate Aqua’s solution with your current enterprise vault, including CyberArk, Hashicorp, AWS KMS or Azure Vault. You can revoke, update, and rotate secrets without restarting containers.
Learn more about Aqua Container Security